
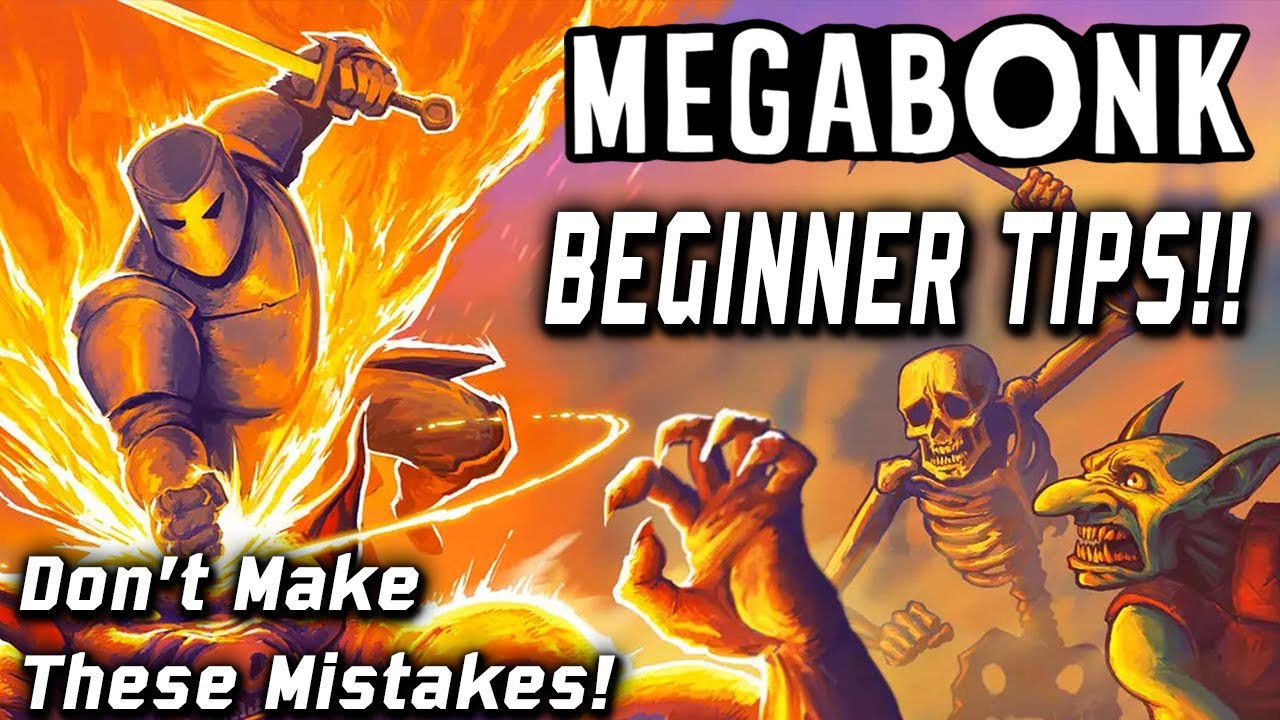
Megabonk Beginner's Guide: How to Survive Your First Run and Unlock Characters
Wednesday, October 08, 2025Megabonk Beginner's Guide: How to Survive Your First Run and Unlock Characters
If you've caught wind of the viral sensation that's taken Steam by storm, you're probably wondering what all the "bonking" fuss is about. Megabonk, the surprise indie hit from solo developer vedinad, has sold over a million copies by blending chaotic 3D roguelike survival with deceptively deep progression systems. But here's the thing – Megabonk looks simple on the surface, but most newcomers find themselves wiped out before the five-minute mark.
This guide will teach you everything you need to know to survive your first runs, understand the core mechanics, and start unlocking the game's roster of 20 unique characters. Let's dive in!
What Exactly Is Megabonk?
At its core, Megabonk is a 3D survival roguelike where you face endless waves of enemies while leveling up your character, upgrading weapons, and trying to defeat a stage boss before a 10-minute timer expires. When that timer hits zero, the "Final Swarm" begins – an endless, suffocating wave of enemies designed to test your limits. Beat the boss before time runs out, and you'll progress through increasingly difficult tiers.
Think of it as Vampire Survivors meets 3D physics chaos, with a healthy dose of humor and endless replayability.
The Core Gameplay Loop: Survive, Level, Bonk
Every run follows a predictable but high-stakes rhythm:
| Phase | Time Window | Primary Goals | Key Activities |
|---|---|---|---|
| Early Game | 0–4 minutes | Establish foundation | Explore, find shrines, pick weapons/tomes |
| Mid Game | 4–8 minutes | Scale your power | Level up, find synergies, prep for boss |
| Late Game | 8–10 minutes | Boss confrontation | Defeat the boss, prepare for final swarm |
| End Game | After timer | Survive | Endless waves if boss not defeated |
Keep an eye on the red arrow on your minimap – it leads you to the boss portal once discovered. Your main goal? Find and defeat that boss before the timer hits zero.
Mastering the Controls: Movement Is Life
Before we dive into enemy types and loot strategies, you need to understand the fundamental controls that will keep you alive:
Basic Movement
- WASD: Standard movement
- CTRL: Slide/dodge for quick escapes
- Space: Jump (use carefully – fall damage is real!)
Pro Movement Strategies
The single most important skill you can develop is mastering circular movement patterns. Instead of running straight through crowds of enemies, make gentle loops around them. This technique:
- Prevents you from getting pinned against walls or corners
- Creates a natural vacuum effect for collecting XP orbs
- Allows you to kite larger foes into safer zones
- Keeps your escape routes clear
Pro Tip: Widen your circles when XP orbs are scattered, and tighten them up when enemies are closing in. Think of yourself as a vacuum cleaner – efficient, methodical, and always moving.
Understanding Enemy Types and Patterns
While Megabonk features a variety of enemy types, understanding their general behaviors is more important than memorizing specific names:
Common Enemy Categories
- Basic Swarmers: Fast, weak enemies that come in large numbers. They're your primary XP source early on.
- Tanky Brutes: Slower but heavily armored foes that can absorb significant damage. Save your heavy attacks for these.
- Ranged Attackers: Enemies that shoot projectiles from a distance. Prioritize these or use cover to avoid their attacks.
- Elite/Boss Variants: Special enemies with enhanced abilities, higher HP, and unique attack patterns. These often appear as mini-bosses or stage bosses.
Enemy Behavior Patterns
- Clustering: Enemies tend to group together, making area-of-effect weapons particularly effective
- Chasing: Most enemies will pursue you relentlessly, making constant movement essential
- Ambush: Some enemies (like the infamous "Sus Bush") appear as environmental objects but reveal themselves as powerful enemies when interacted with
Critical Warning: If you spot a suspicious-looking bush in the Forest area, DO NOT shake it unless you're prepared for a serious fight. The "Sus Bush" hides a high-level boss that can one-shot underleveled players.
Early Game Loot Strategies: What to Prioritize
Your first few minutes determine the entire trajectory of your run. Here's how to make the most of them:
Weapon Selection for Beginners
As a new player, you want weapons that are forgiving and effective:
- Firestaff (Fox's starting weapon): Excellent ranged option with good area coverage
- Sword (Sir Oofie's starting weapon): Reliable melee choice with consistent damage
- Aura: The best beginner weapon overall – creates area damage around your character, making it hard for enemies to get close
Tome Selection – Your Build Foundation
Tomes are passive upgrades that shape your entire build. For beginners, prioritize:
- XP Tome: Non-negotiable for your first few runs. More XP means faster leveling and more power
- Luck Tome: Increases your chances of getting better upgrades and rare items
- Damage Tome: Once you're comfortable surviving, this helps clear enemies faster
Essential Early Items
When you see these upgrades, grab them immediately:
- Gym Sauce: +10% damage boost – simple but effective
- Forbidden Juice: +10% crit chance – scales perfectly with offensive builds
- Medkit: +3.5 HP regen – essential sustain for longer runs
- Slippery Ring: +15% evasion for extra survivability
Power-Up Management
Different power-ups appear during runs, and knowing when to use them is crucial:
| Power-Up | Best Use |
|---|---|
| Magnet | Wait until you've cleared large areas for max XP gain |
| Rage/Coin | Use during dense enemy waves or boss fights |
| Protect | Activate before entering dangerous shrines |
| Nuke | Emergency use only – perfect for crowd control or boss phase clearing |
Surviving Your First 10 Minutes: Phase-by-Phase Strategy
Early Game (0-4 minutes): Foundation Building
- Keep moving: Standing still equals death in Megabonk
- Explore smart: Find shrines and the boss portal early – time saved here is victory later
- Kill efficiently: Don't chase every XP orb. Use magnets or Shrines of Succ later to collect them in bulk
- Balance stats: Damage is tempting, but HP and defense are essential for survival
- Shrine hunting: Prioritize Shrines of Succ (XP magnets) and Charge Shrines (stat boosts)
Mid Game (4-8 minutes): Scaling Your Power
- Seek synergy: Look for combinations between your weapons and tomes
- Use shrines strategically: Some shrines boost enemy density for faster farming – only use these if your build can handle it
- Save consumables: Hold onto powerful items for boss fights or sudden swarms
- Upgrade wisely: Focus on attack speed over raw damage – faster attacks mean more hits and better crowd control
Late Game (8-10 minutes): Boss Confrontation
- Follow the minimap: The red arrow leads to the boss portal
- Activate buffs: Use Rage or Protect before entering the boss fight
- Keep moving: Bosses hit hard, and crowd control is essential
- Prioritize survival: Don't get greedy – staying alive is more important than maximizing damage
Character Unlocking: Building Your Roster
You start with only two characters, but Megabonk features 20 unique characters to unlock. Each has different weapons, abilities, and unlock requirements:
Starting Characters
- Fox: Ranged specialist with Firestaff and luck scaling
- Sir Oofie: Melee-focused with Sword and armor scaling
Early Unlock Targets
As a beginner, focus on these achievable unlocks:
- Calcium: Kill 1,000 Skeletons (you'll get this naturally through play)
- CL4NK: Complete Forest Tier 1 (your first progression goal)
- Megachad: Get the Damage Tome to Level 7 and buy the Aura weapon
Unlock Requirements Examples
Characters unlock through various challenges:
- Kill counts: Defeat specific enemy types (e.g., 15,000 Goblins for Ogre)
- Tome levels: Upgrade specific tomes to certain levels (e.g., Thorns Tome to Level 9 for Athena)
- Tier completion: Complete specific difficulty tiers
- Special challenges: Unique conditions like defeating secret bosses or using specific weapon combinations
Important: Once you meet unlock requirements, you must purchase characters from the Unlocks tab in the main menu using silver coins earned from runs.
Progression Systems: Getting Stronger Over Time
Your early runs aren't just about survival – they're about meta-progression. Focus on:
Essential Unlocks
- More weapon/tome slots: For flexible builds
- Banish/Skip/Refresh tools: For better upgrade control
- New characters and weapons: For variety and power
Understanding Tiers
- Tier 1: Beat boss, end run (your starting point)
- Tier 2: Defeat boss to teleport to next stage
- Tier 3: Brutal difficulty with boss HP in the millions
Choose your tier manually before each run – only move up when you're consistently beating the current tier.
Common Beginner Mistakes to Avoid
- Neglecting HP and defense: Don't put all upgrades into damage – you'll get overwhelmed later
- Standing still: Constant movement is non-negotiable in Megabonk
- Ignoring shrines: These provide massive advantages when used correctly
- Chasing every XP orb: Use magnets and shrines to collect efficiently
- Fighting the Sus Bush early: Unless you want a quick death, leave suspicious bushes alone
- Forgetting fall damage: Jumping off cliffs might seem like a good escape, but it's often fatal
Advanced Tips for When You're Ready
Once you've mastered the basics, consider these pro strategies:
- Set clear goals: Focus each run on unlocking specific gear or quests
- Restart smart: If RNG screws you early, don't waste time on doomed runs
- Use shrines to scale: Increasing difficulty spawns more enemies = faster XP gain (if you can handle it)
- Analyze results: Review post-run stats to identify which weapons or items carried your success
Final Thoughts: Embrace the Chaos
Megabonk shines because it's chaotic, creative, and endlessly replayable. Every run is a new chance to push your limits and discover wild item synergies. Don't worry if you keep dying early – every failure brings silver, progress, and lessons learned.
Remember these key takeaways:
- Movement is survival: Master circular patterns and never stop moving
- Balance offense and defense: HP and lifesteal are just as important as damage
- Progress takes time: Focus on meta-progression and unlocking new options
- Experiment freely: The best way to learn is by trying different combinations
Your first 10-minute victory is just the beginning of your Megabonk story. So grab your weapon, embrace the chaos, and most importantly – keep bonking!