
RetroArch CRT Shaders: A Practical Setup Guide
Wednesday, September 23, 2026By Indie Kings | September 23, 2026
Updated September 23, 2026: RetroArch can apply CRT-style shaders to older emulated games, but the result depends on aspect ratio, scaling, shader preset, and display. XDA's September 20 walkthrough uses Sonic the Hedgehog, 4:3 scaling, integer scale, Vulkan, and the ntsc-320px-composite.slangp preset, while Libretro's documentation confirms the preset workflow.
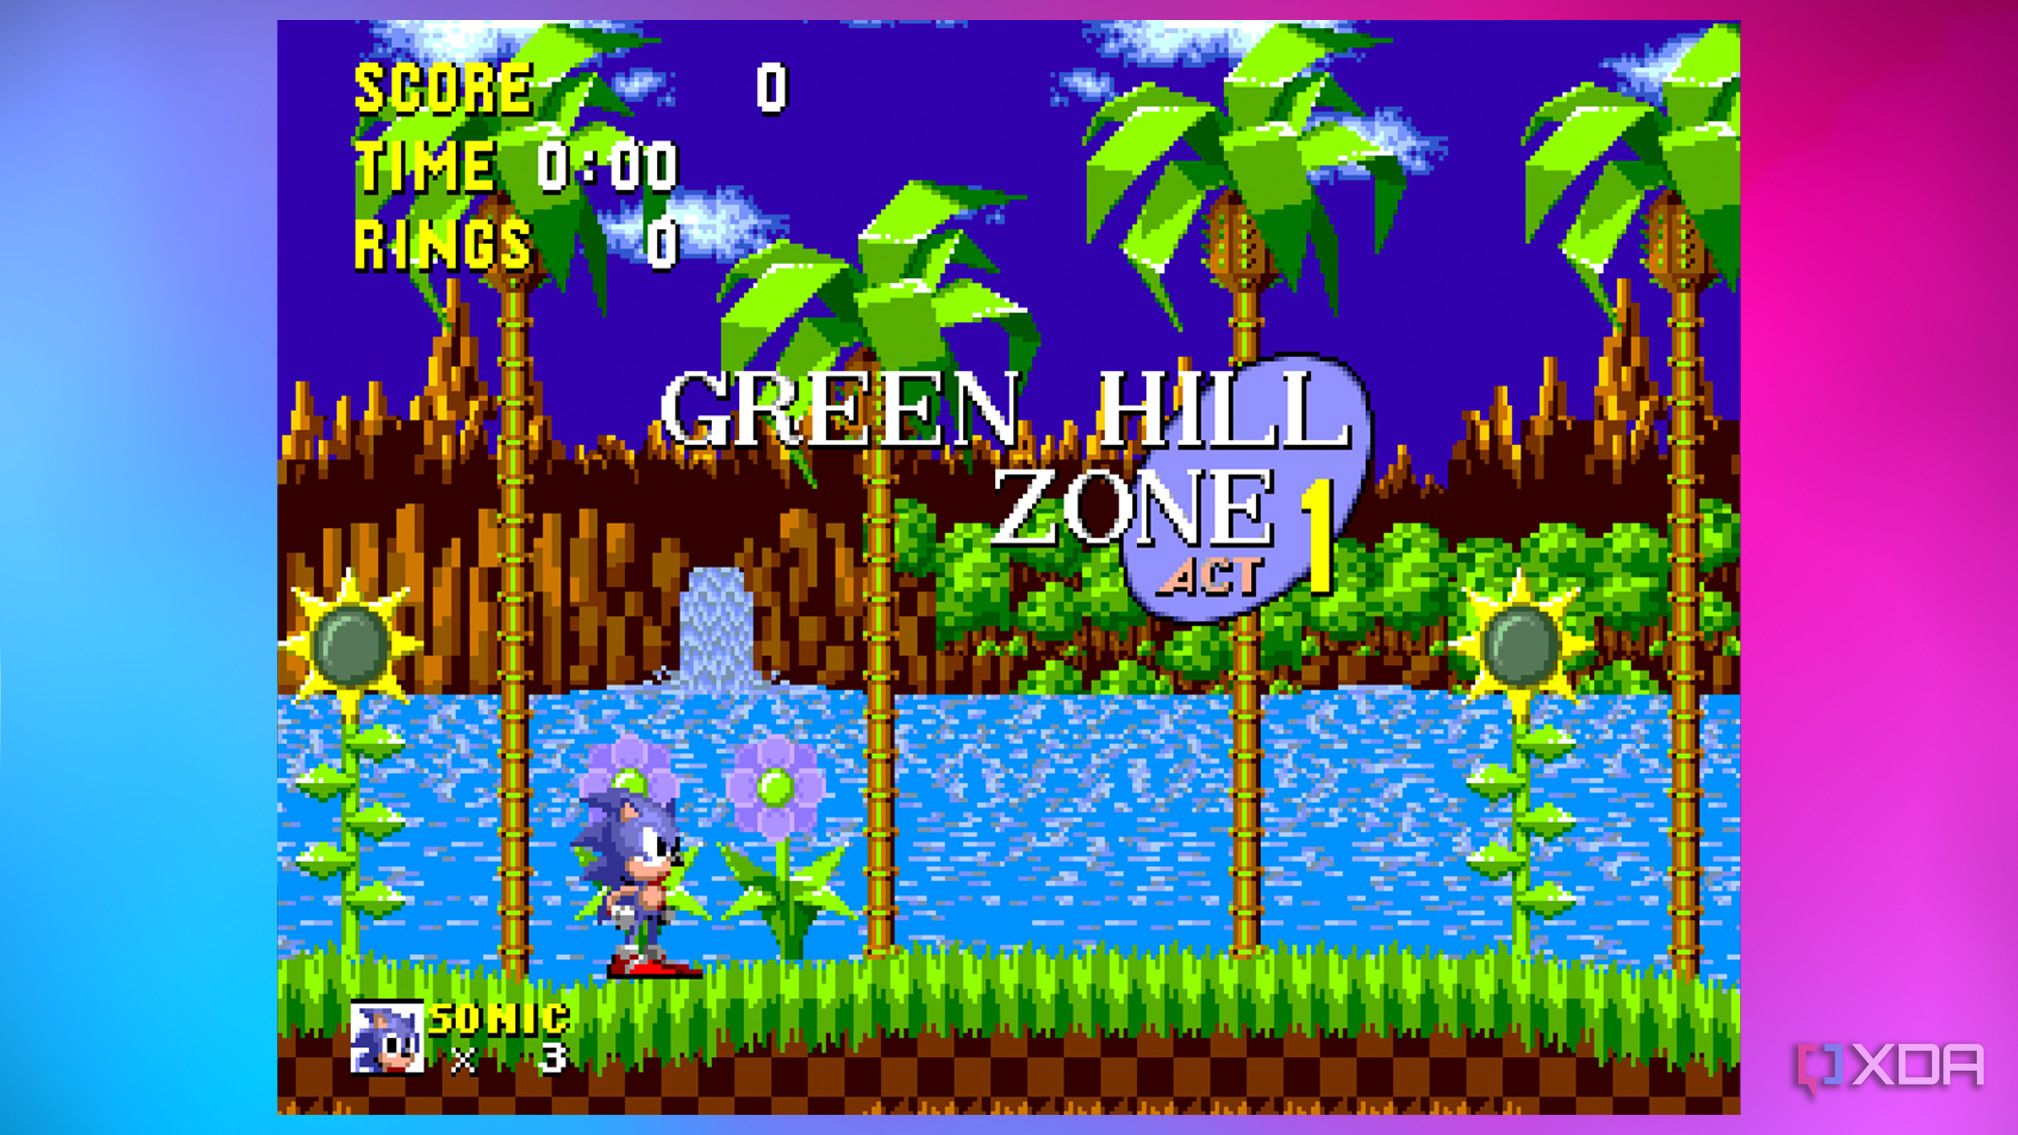
Image: Sonic the Hedgehog running in an emulator. Credit: XDA.
Why old games look wrong on LCDs
Older console games were designed around CRT displays and the way those displays blended adjacent pixels. XDA's Sonic example shows how a transparency effect that should merge with the background can flicker or expose a grid on a sharp LCD.
A modern emulator can render the game at its original low internal resolution, but that sharp pixel grid is not the only visual difference. Color blending, scanlines, curvature, and signal noise all shape how a CRT image looked in motion.
What a CRT shader changes
Per the official RetroArch site, shaders are graphical filters that can improve old-game rendering and replicate the look and feel of CRT monitors. They can also be stacked, so a preset may combine more than one processing pass.
A shader does not restore original game code or guarantee historical accuracy. It is a display filter applied after the emulator renders the frame. The best preset depends on the source resolution, the display, and whether the player wants scanlines, color blending, curvature, or a cleaner image.
| Setting | Purpose in the XDA example | Tradeoff |
|---|---|---|
| 4:3 aspect ratio | Preserves the intended-era frame shape | Leaves black bars on a widescreen display |
| Integer scale | Keeps pixel edges even | Can reduce the image size on some displays |
| Vulkan video driver | Provides the driver path used in the walkthrough | Other drivers can have different preset support |
| Slang shader preset | Applies the NTSC-style composite effect | Color bleed and scanlines are subjective choices |
RetroArch CRT shader setup
The following sequence follows XDA's September 20 walkthrough. The official Libretro documentation confirms that shader presets are loaded from the Quick Menu and that Slang shader files can be updated through the Online Updater.
- Open RetroArch and use Main Menu, Load Core, Download a Core to install Genesis Plus GX for the Sonic example.
- Open Settings, Video, Scaling and set the aspect ratio to 4:3. Turn on Integer Scale for even pixel expansion.
- Open Settings, Drivers and set the Video driver to Vulkan, as used in the XDA example.
- Restart RetroArch, open Main Menu, Online Updater, and choose Update Slang Shaders.
- Start the game and press F1 to open the Quick Menu. Turn Video Shaders on, choose Load Preset, and open the
shaders_slang/ntscfolder. - Load
ntsc-320px-composite.slangp, then press F1 again to return to the game.
Choosing a preset
Per the Libretro documentation, RetroArch can load presets through Quick Menu, Shaders, Load Shader Preset. Global, core, content-directory, and game presets are available, with the more specific saved preset taking priority when automatic presets overlap.
Start with one preset instead of stacking several. A heavy CRT filter can make small text harder to read, while a light preset may not create enough blending for effects that relied on a CRT signal. Save a preset only after the image looks stable across more than one scene.
- Low-resolution 2D games: Start with a 4:3 integer-scaled preset and modest scanlines.
- Transparency and sprite effects: Compare an NTSC composite preset with a cleaner preset.
- Desktop or text use: Test sharpness and scaling before adding curvature or noise.
- Collection play: Save a global or core preset, then override it for a specific game when needed.
Shader tradeoffs
CRT shaders are useful because they address a real presentation mismatch, but they are not free. The image can become softer, brighter, darker, or more difficult to read depending on the preset and display. Integer scaling can also leave unused screen space.
RetroArch's own documentation describes preset chains and editable parameters, so a preset is a starting point rather than a fixed prescription. Keep a clean preset available for games where readability matters more than period-style blending.
| Goal | Try first | Reason |
|---|---|---|
| Reduce LCD grid artifacts | 4:3 plus a composite or NTSC preset | Blends neighboring pixels in a way a sharp display does not |
| Keep text readable | Integer scale with a light preset | Avoids unnecessary curvature and color bleed |
| Match a CRT-heavy game | Save a game-specific preset | Different systems and games need different filtering |
| Compare before and after | Keep a no-shader preset | Makes the effect of each filter visible |
FAQ
What is a CRT shader in RetroArch?
Per the official RetroArch site, it is a graphical filter that can reproduce parts of the CRT look and feel.
Which shader did XDA use for Sonic?
The walkthrough loads ntsc-320px-composite.slangp after updating Slang shaders.
Why set the aspect ratio to 4:3?
The XDA example uses 4:3 to preserve the intended frame shape. Widescreen displays may leave bars around the image.
Should Integer Scale be enabled?
It keeps pixel dimensions even, but the image can become smaller. Disable it when filling the display matters more than even pixel edges.
Can I stack CRT shaders?
Yes. RetroArch and Libretro document shader chains, but stacking can reduce sharpness or readability.
Does a CRT shader make emulation more accurate?
No. It changes presentation after rendering. Accuracy depends on the core, settings, source, and display pipeline.
Bottom Line
A CRT shader can make older emulated games look closer to the display language their developers expected, but it is a configurable filter rather than a magic accuracy switch. Start with 4:3, integer scaling, one Slang preset, and a clean fallback.
Related: RetroArch Steam Beta | Omarchy gaming setup guide for Steam and RetroArch